
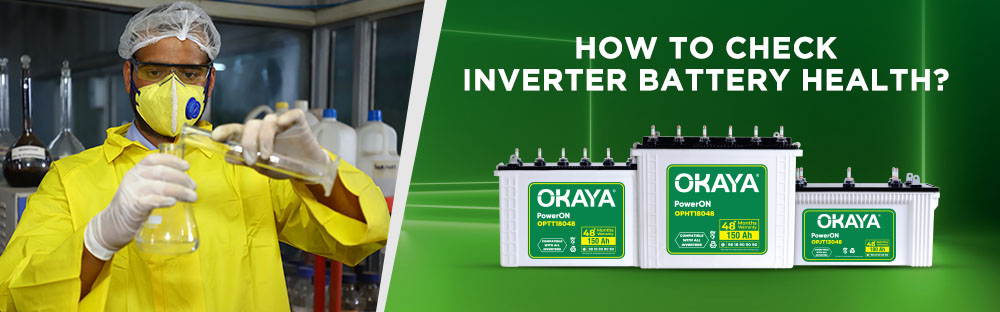
In the world of power backups and inverters, the health of your inverter battery stands as a cornerstone of reliability and performance. An efficiently working battery ensures that you have a dependable power source during outages, maintaining comfort and productivity. Recognizing the importance of battery maintenance, we bring you a detailed guide to help you assess and maintain the health of your inverter battery, ensuring it delivers peak performance when you need it most.
Step 1: Start with a Visual Inspection
Initiate your battery health check with a thorough visual inspection. Be on the lookout for any signs of physical damage, leaks, or corrosion on the terminals, as these can significantly impact the battery's efficiency. Such issues, if found, should be addressed immediately, potentially with the help of a professional to prevent further damage.
Step 2: Conduct a Voltage Check
Utilizing a digital multimeter, proceed to check the battery's voltage. This step should be done with the inverter turned off and all connected loads disconnected to ensure an accurate reading. Attach the multimeter's positive (red) probe to the battery's positive terminal and the negative (black) probe to the negative terminal. A healthy 12V inverter battery should display a voltage in the range of 12.6 to 12.8 volts. Readings below this range may indicate a need for recharging or a potential battery weakness.
Step 3: Undertake a Load Test
A load test assesses the battery's ability to perform under typical operating conditions. With the inverter on, connect a moderate load (like a lamp or fan) and observe how the battery manages. Should the voltage plummet quickly or if the inverter fails under this load, it's a clear indicator that the battery's efficiency is compromised, suggesting a possible need for replacement.
Step 4: Check Electrolyte Levels (Applicable for Flooded Batteries)
If your battery is of the flooded lead-acid type, it's crucial to monitor the electrolyte levels. This entails carefully removing the battery's vent caps to check that the liquid adequately covers the internal plates. Low electrolyte levels can be topped up with distilled water; however, it's important to avoid adding acid.
Step 5: Consider a Battery Health Analyzer
For those looking for a deeper dive into their battery's condition, a battery health analyzer is a worthwhile investment. These devices can offer detailed insights into the battery's capacity, internal resistance, and overall health, guiding you on whether maintenance or replacement is needed.
Regular maintenance and health checks of your inverter battery are not just about preventing power interruptions; they are about ensuring the longevity and efficiency of your power backup solution. By following these straightforward steps—ranging from visual inspections and voltage checks to load tests and, where applicable, electrolyte level adjustments—you can significantly influence the health and operational readiness of your inverter battery.
Safety should always be your priority when performing these checks. If you're ever in doubt or face issues that seem beyond simple maintenance, don't hesitate to seek professional assistance. A well-cared-for inverter battery not only guarantees peace of mind during unexpected power cuts but also ensures that your investment continues to serve you well over the long term.
© 2025 All Rights Reserved to Okaya Power Private Limited